What are the best drawing exercises for beginners?
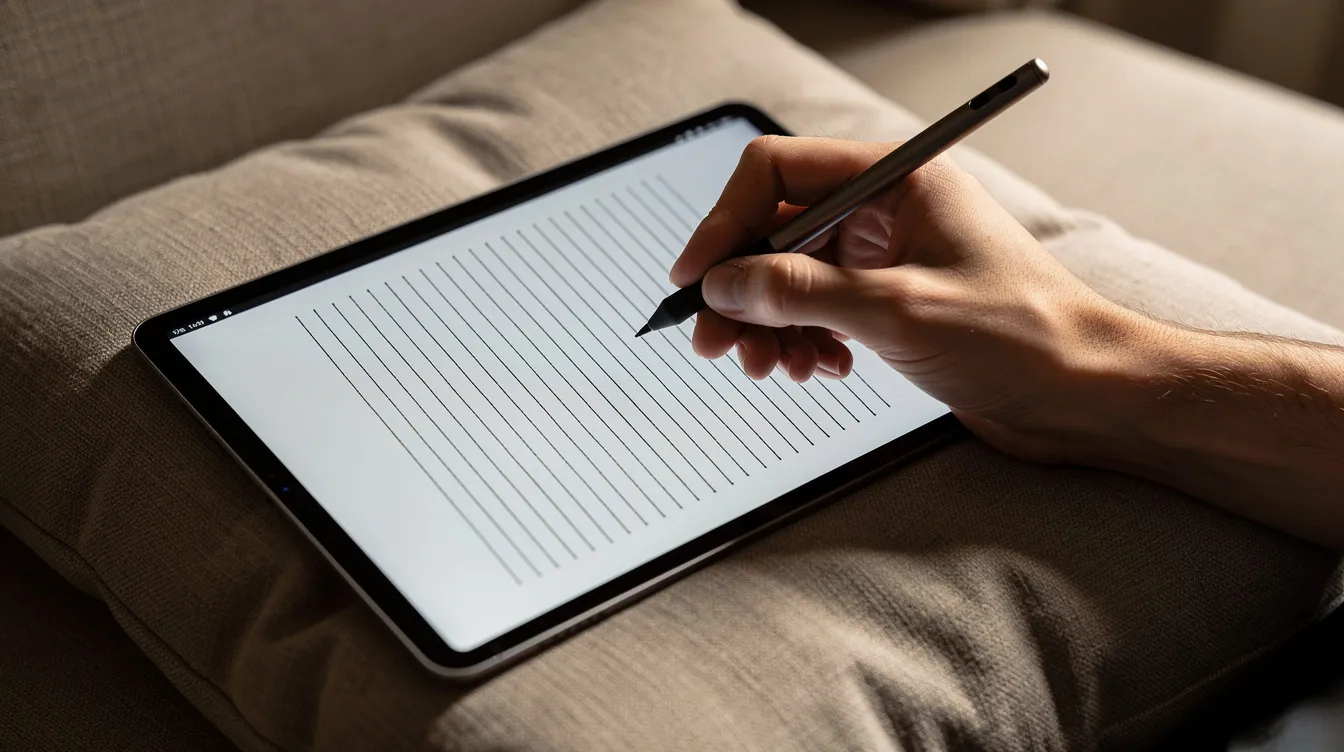
I am Brian. I draw on an iPad in the evenings, usually from the couch, and I am not a trained artist. For my first few months I jumped between apps and fancy brushes, convinced the right tool would make my drawings better. It did not. What actually helped was sitting down and drawing boxes, circles and straight lines on repeat. Boring? A little. But those simple exercises changed everything.
Why beginner drawing exercises matter
Drawing is not one big skill. It is a handful of small skills stacked together: hand control, proportion, form, light, composition. When you try a full portrait on day one, you practice all of them badly at once. Drawing exercises isolate one skill at a time, lower the stakes, and replace the “I don’t know what to draw” feeling with a small, clear plan.
Effective beginner drawing exercises focus on line control and 3D forms. Daily drawing exercises boost hand eye coordination and control. They also increase skill without the pressure of perfection, which matters when you draw for fun and not for a grade. Daily drawing exercises enhance observational skills significantly, and over a few weeks you start to notice details in real objects you walked past before.
What do better drawing skills actually look like? Smoother lines. Proportions that feel right. Cleaner shading. More confident quick sketch sessions where you capture an object in a minute instead of staring at a blank screen. That is what these drills build, and none of them require talent or a course.
Setting up: tablet, stylus, and a low-pressure mindset
I use an iPad and Apple Pencil. Any basic sketch app is enough for these exercises. Apps like Procreate work well, but nobody needs anything fancy to draw boxes. Pick a plain, slightly textured pencil brush and ignore the dozen specialty brushes for now. Materials matter less than showing up.
My setup: tablet at a comfortable angle on the couch or desk, palm rejection on, pencil brush selected, medium gray background so the white glow does not tire my eyes. I keep guide lines on their own layer so they never muddy the final lines.
My low-pressure rules: 10 to 20 minutes, no posting online, and I keep every page dated, even the bad ones. Dated pages are your best sign of progress. Shadow Draw is an app that places a faint on-screen guide for you to trace over, which some beginners find helpful for building confidence early on. I have not made it part of my routine, but it might suit someone who wants structure while getting comfortable with the stylus. Pair any guided tool with drawing real objects so observation stays in the process. If you want the details, see how Shadow Draw works.
Warm-up lines: 5 minutes to loosen your hand
This is always my first block, and I still do it most nights. Five minutes of line practice daily enhances drawing precision, and line control drills train muscle memory for confident strokes. Set a timer, grab your pencil brush, and start.
Three drills I rotate through:
-
Straight lines between two points. Place two dots, then connect them in one confident stroke. No ruler, no stabilizer. Fill a page with 20 vertical lines from top edge to bottom edge.
-
Ghost lines. Hover over the path two or three times without touching the screen, then lay down the stroke. This trains your arm to plan the line before committing.
-
Parallel rows. Draw evenly spaced horizontal lines across the page. Focus on consistent spacing, not perfection.
Lines will curve. Circles will look like potatoes. That is normal, and it is the whole reason you do this. Spending 5 minutes daily on lines enhances drawing precision over time.
On digital versus paper: both are fine. I try not to lean on undo, because leaving a wrong line and drawing over it teaches more. Keep strokes quick and light, use your whole arm for longer lines, and move on when the timer ends.
Circles, boxes, and cylinders: simple exercises for basic forms
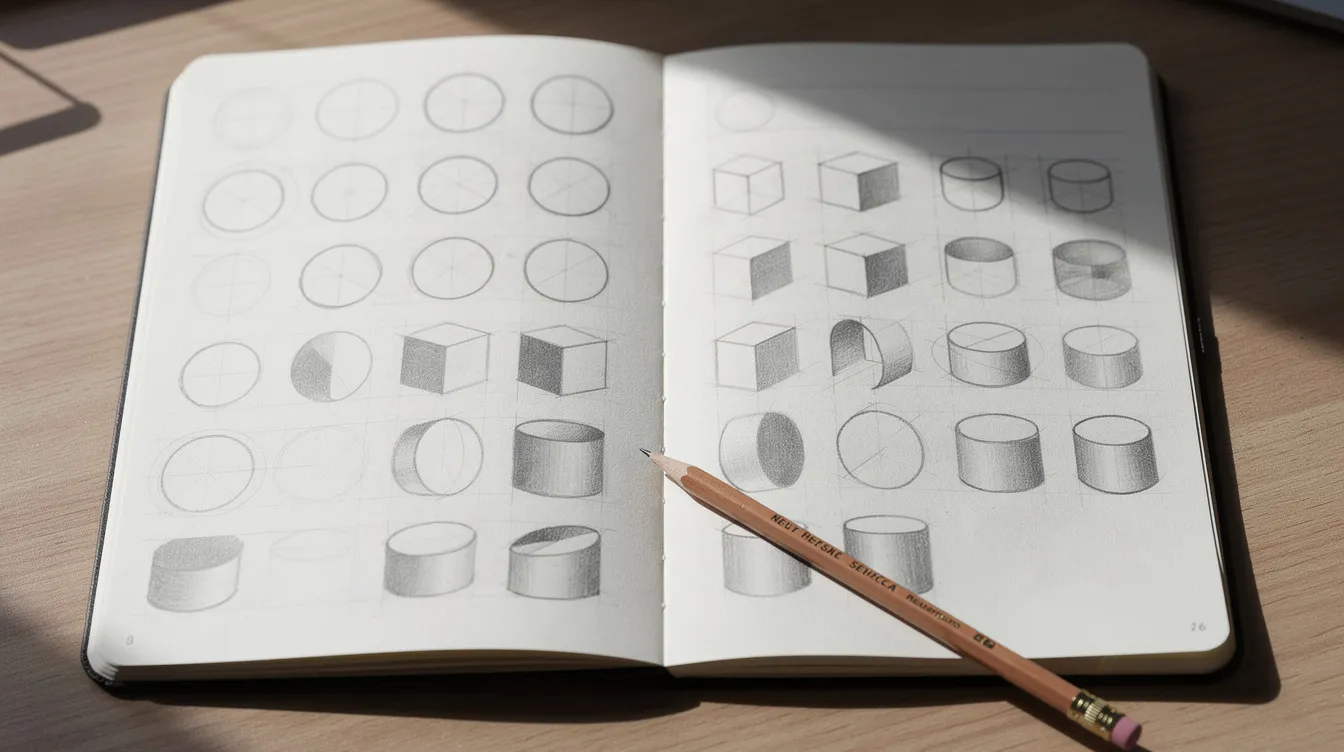
After lines, I move to basic geometric shapes and 3D forms. Almost everything you draw can be broken down into cubes, cylinders and spheres. Drawing basic shapes lays a foundation for complex subjects, and breaking objects into basic shapes aids in accurate drawing.
My turning point: my early drawings looked flat because I was outlining things instead of building them from the inside. The fix was learning to “draw through the form,” sketching hidden back edges so mugs, books and lamps feel solid. Basic 3D forms help turn flat shapes into convincing drawings.
Try these:
-
Circles row. Fill a line with circles of similar size, then vary sizes. Flat sides are the most common issue. Practicing shapes for 5 minutes daily builds muscle memory, and practicing shapes enhances muscle memory and precision.
-
Box grid. Draw a 3 by 4 grid of rectangles. Turn each one into a box by adding quick side planes, no rulers. Then add a horizon line and one vanishing point so parallel edges converge. Try two vanishing points when that feels comfortable. No theory mastery is needed, just the sense that parallel edges converge as things recede. Graphical perspective guides with diagrams of one-point and two-point setups are worth exploring if you want to go deeper.
-
Cylinders. Start from ellipses, then connect the sides into cups, cans or bottles from slightly different angles. Drawing from unusual angles enhances understanding of form and perspective.
Spend 5 minutes daily drawing basic shapes and your skills improve steadily. Sight size practice, where you hold up your pencil at arm’s length to compare sizes, improves drawing accuracy significantly even on a tablet.
Blind contour drawing and slow contours: training your eye
Blind contour drawing is a classic, slightly uncomfortable exercise that connects your eye and hand so what you see reaches the drawing without your brain editing it first. Observational exercises like this break the habit of drawing symbols instead of actual shapes.
How to do it: pick a subject like a shoe, a houseplant, or your non-dominant hand. Keep your eyes fixed on the object. Draw one slow, continuous line without looking at the screen or lifting the stylus. The result will look strange. That is the point.
Then try the slow contour variant: you may look back and forth between the object and the screen, but the stylus must move very slowly, matching your eye. Five minutes of blind contour, then five minutes of slow contour on the same object, is a good block. The difference between the two drawings shows you how much your brain fills in when you let it. This is where hand eye coordination really develops, and you start capturing what you actually see rather than what you think you remember.
Quick sketch sessions: 30 to 60 second poses for speed and gesture
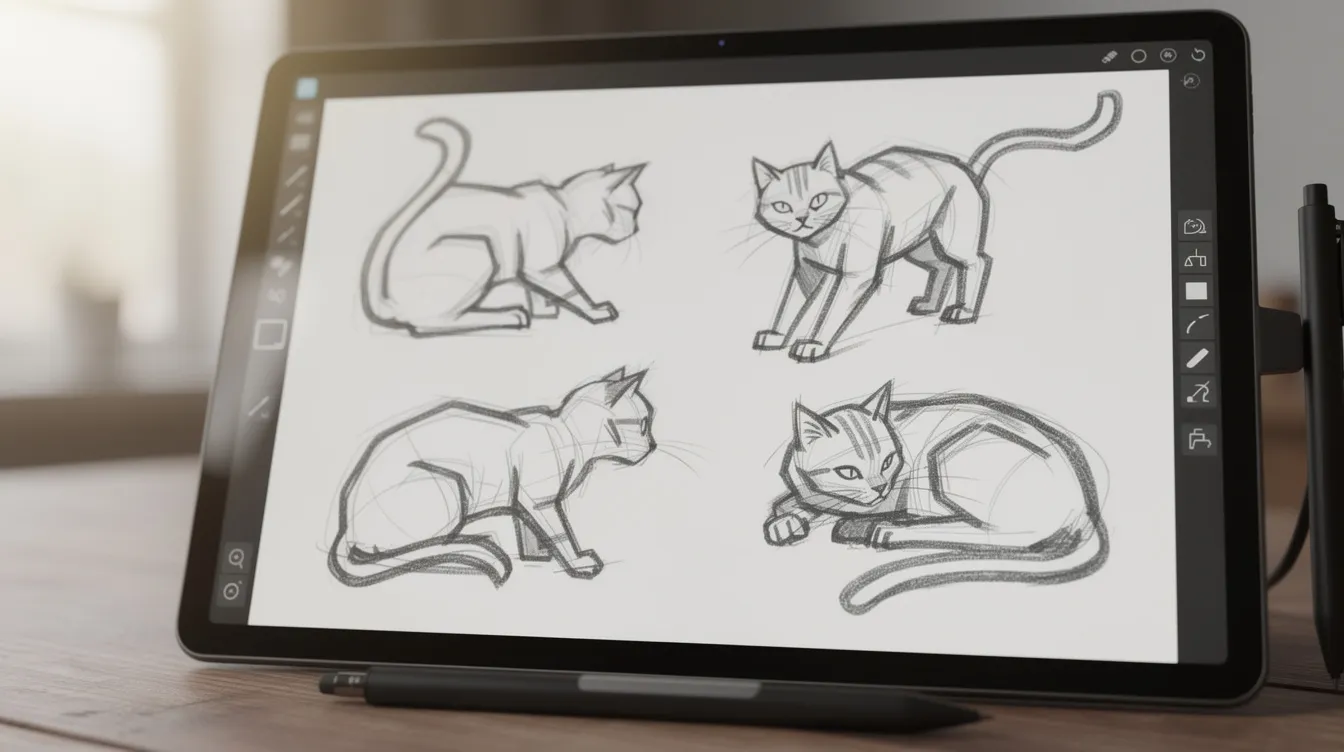
A quick sketch is a very short timed drawing that captures movement, tilt and big shapes instead of detail. This is the exercise I resisted most and now value most, because it breaks the habit of fussing over one small area for ten minutes.
Quick sketch techniques train eyes to discern significant details swiftly. Five-minute timed sketches can boost drawing speed, and even shorter ones help. Quick sketches improve speed and detail recognition across all skill levels.
A routine I use:
-
10 poses at 30 seconds each
-
5 poses at 1 minute each
Use photo references of people or pets on a second device, or draw everyday scenes like someone walking past a window. Beginner subjects that work well: pillows, shoes, mugs, folded towels, a plant leaning toward a window, or a film paused every 30 seconds.
Digital tips: one brush, one size, one layer, no zooming or erasing. Keep the flow going. The point is rhythm, not a masterpiece.
Five-part 20-minute routine: putting the drawing exercises together
Here is the routine I use most nights. It takes 20 to 30 minutes, and you can start tonight without any plan beyond opening your app.
|
Block |
Time |
What to do |
|---|---|---|
|
1 |
5 min |
Warm-up lines (straight lines, ghost lines, parallels) |
|
2 |
5 min |
Shapes and forms (circles, boxes, cylinders) |
|
3 |
5 min |
Blind contour or slow contour of one object |
|
4 |
5 min |
Quick sketch from objects in the room |
|
5 |
Optional |
Draw one real object (a mug, keys, headphones) and check proportions |
Short regular practice sessions help beginners build steady hand control. Practicing fundamentals for 10 to 30 minutes a day builds muscle memory and visual accuracy. Drawing from real objects improves accuracy and understanding far more than copying photos on a screen.
Vary one element each day. Swap cylinders for boxes, change the contour subject, or sketch a different corner of the room. Keep the total time stable. This becomes your repeatable default for daily exercises, and it fits around work and life because it is short enough to do before bed.
Specialized drills to revisit weekly: value, texture, and negative space
These are for a weekly focus session, not every day. Setting a weekly theme can enhance creative focus, and mini-projects can provide structure to your drawing practice.
Values. Draw a 5-step grayscale bar with one brush and different techniques of pressure, then shade a sphere from a single light source. Note the highlight, midtone, core shadow and cast shadow. Value creates depth and realism far more than outlines do. Hatching and cross-hatching help model light and shadow, and are worth exploring alongside smooth shading. The concept of chiaroscuro, strong contrast between light and dark to create depth, is a good starting point for understanding why values matter.
Texture. Pick one material: wood grain, fabric folds, hair or glass. Spend 10 to 15 minutes on small swatches instead of full objects. This builds a subtle sense of surface that shows up in later drawings.
Negative space. Draw only the gaps around a chair, plant or lamp instead of the objects themselves. Practicing negative space drawing improves spatial awareness, and negative space drawing enhances shape perception and spatial awareness. It sharpens proportions because you stop guessing and start measuring with your eyes.
Upside-down drawing. Flip a reference photo and draw it inverted. Upside-down drawing improves attention to detail and proportions because your brain cannot rely on its usual shortcuts.
Keeping the habit going without turning it into homework
The boring exercises are the ones that pay off. Daily drawing can relieve stress and promote relaxation, and when you treat it as rest instead of homework, you do it more often. Creativity grows in that low-pressure space.
A few ideas that help me stay consistent:
-
Keep a go-to list of simple exercises so you never waste time deciding what to draw.
-
Set a 5-minute minimum. On very busy days, lines, circles or one blind contour are enough, as long as the stylus hits the screen. That is enough to develop and maintain the habit.
-
Pair drawing with an existing evening habit, like a TV show. I draw during whatever is on, and it feels like fun, not work.
Common beginner mistakes to watch for: chasing detail too early instead of nailing forms and values, drawing with only the wrist (use your whole arm for longer strokes to gain accuracy and control), and comparing yourself to finished art online instead of your own pages from last month. Drawing the same object daily enhances accuracy and line quality, so do not feel strange about sketching the same mug three nights in a row.
Once a month, flip back through your dated pages. Comparing my first ellipses to my latest is the best inspiration and boost I have found. The improvement is there even when it does not feel like it day to day.
Stylus and Screen is one person sharing what has helped. Take what works, explore different techniques that interest you, leave the rest, and adapt these drawing exercises to fit your own life and your own couch.

FAQ
How long should I practice each day? Twenty to thirty minutes is plenty for regular practice. Short daily sessions beat one long weekend session for building steady hand control and confidence.
Do I need an iPad or can I use paper? Paper and pencil work for every exercise here. I use an iPad only because I enjoy it in the evenings. The fundamentals are the same on any surface.
Which exercise should I do first if I only pick one? Basic forms. Circles, boxes and cylinders teach you to think in three dimensions, and that understanding carries into every subject you draw, from landscapes to portraits.
How soon will I see improvement? Usually steadier lines and better proportions within a few weeks of regular drawing practice. Keeping your early pages makes the progress visible even when it does not feel obvious day to day.
Should I copy other artists’ work? Copying for private study is fine and can be a source of ideas and inspiration, but mix it with drawing from real life. Observation builds skills that copying alone does not, because you learn to see the actual shapes and angles in front of you rather than someone else’s interpretation. That is where real art growth happens.